在Windows上安装Stable Diffusion
在Windows上使用ComfyUI安装Stable Diffusion步骤:
- 下载ComfyUI
- 下载指定的Stable Diffusion模型
- 将模型放入ComfyUI
- 运行
注意事项:运行绘图时,Prompt仅支持输入英文,不支持中文。
ComfyUI
Github:https://github.com/comfyanonymous/ComfyUI
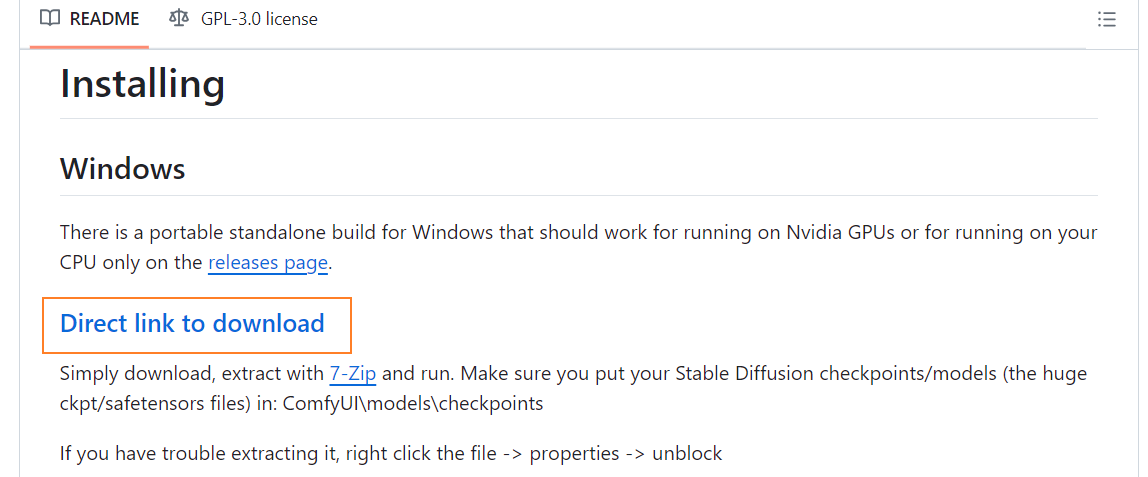
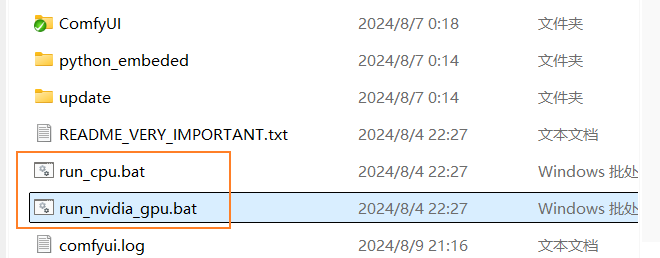
点击如上图所示按钮进行下载,并解压,然后根据机器上是否存在Nvida显卡,再决定是使用run_cpu或run_nvida_gpu,双击执行即可:
下载Stable Diffusion模型
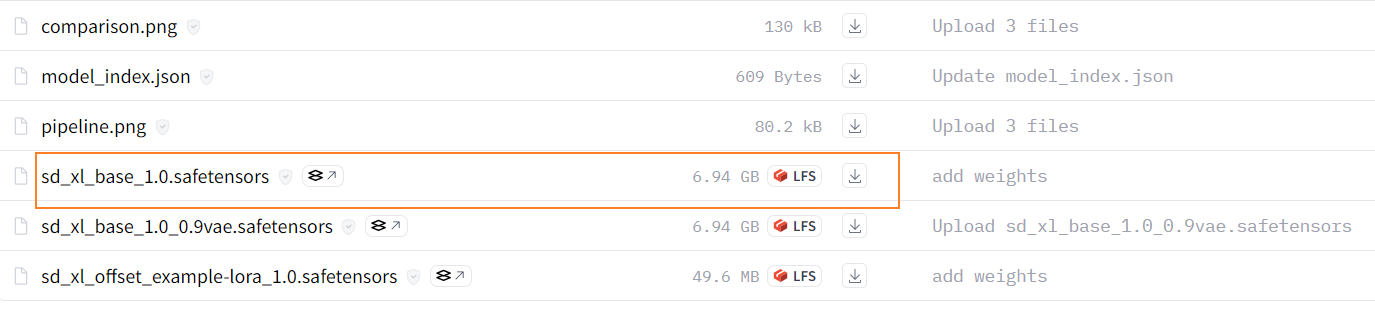
1、Stable Diffusion XL Base 1.0:基础模型,https://huggingface.co/stabilityai/stable-diffusion-xl-base-1.0/tree/main
2、Stable Diffusion XL Refiner 1.0:https://huggingface.co/stabilityai/stable-diffusion-xl-refiner-1.0/tree/main

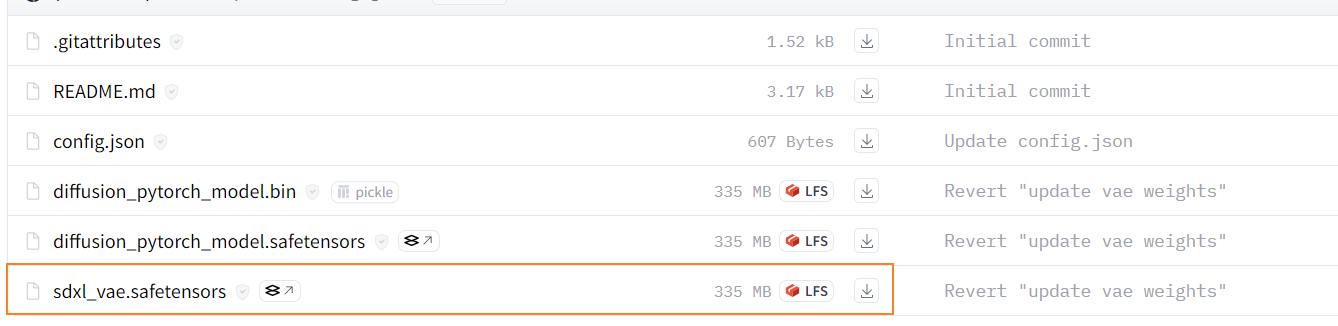
3、SDXL-VAE:https://huggingface.co/stabilityai/sdxl-vae/tree/main
上述三个模型下载完成后,分别放置到上面ComfyUI解压目录的如下目录:
- base、refiner以及后续其他模型:…\ComfyUI_windows_portable\ComfyUI\models\checkpoints
- vae:…\ComfyUI_windows_portable\ComfyUI\models\vae
界面说明
执行ComfyUI下面的run_nvida_gpu.bat,然后打开浏览器访问 http://127.0.0.1:8188/,界面如下:
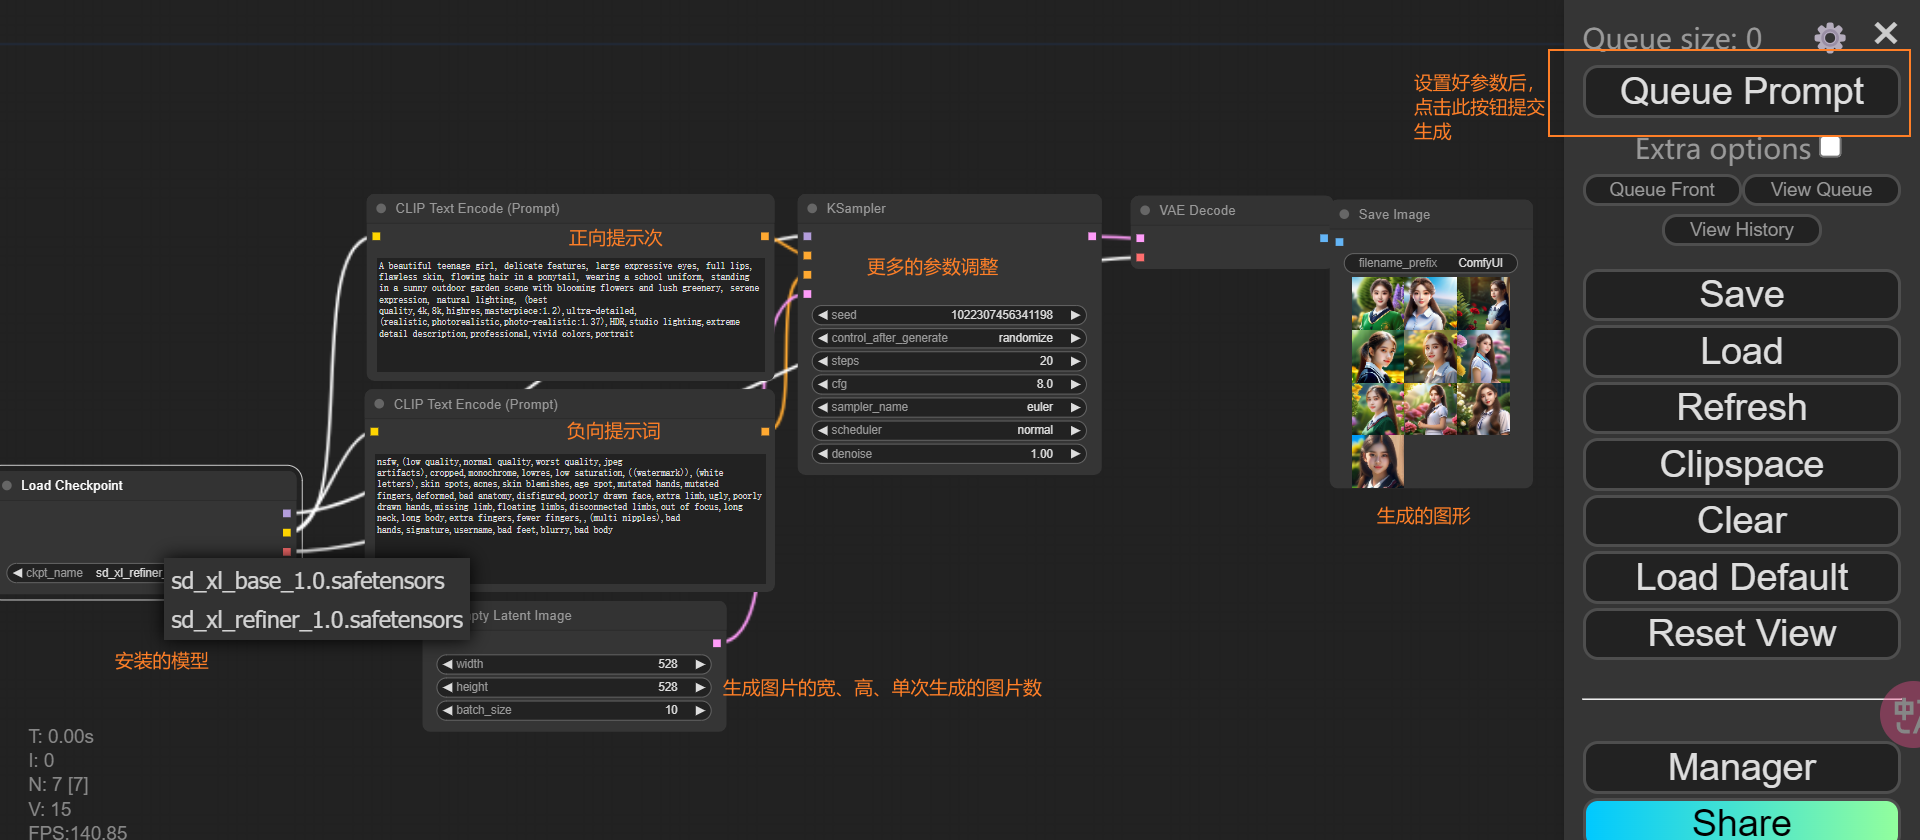
注意:执行过程中被绿色框起来的代表执行到了这一步。
ComfyUI Manager
Github网址:https://github.com/ltdrdata/ComfyUI-Manager
安装:在ComfyUI/custom_nodes目录下,执行 git clone https://github.com/ltdrdata/ComfyUI-Manager.git 并重启 ComfyUI